How to Put a Box Spring on a Bed Frame: 6 Simple Steps
BED SETUP · SMALL-SPACE GUIDE
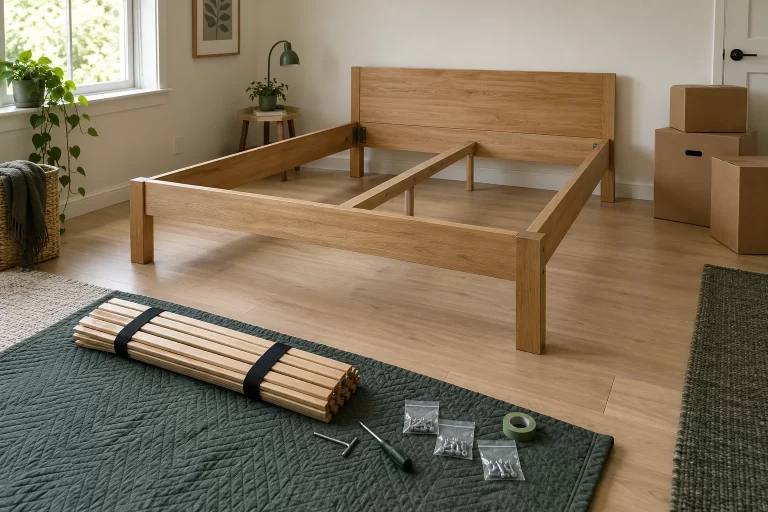
A box spring belongs between the mattress and the structure that holds the bed up. That sounds simple until we look at the frame: some have narrow metal rails, others have wood ledges and crosspieces, and platforms already provide their own mattress support. A good setup starts with identifying those pieces rather than adding another layer by default.
Our guide explains how to put a box spring on a bed frame, from checking the actual fit to lowering it onto the right supports. We also cover slats, split foundations, and the finished bed height—details that matter when a bedroom has limited space.

How do we put a box spring on a bed frame?
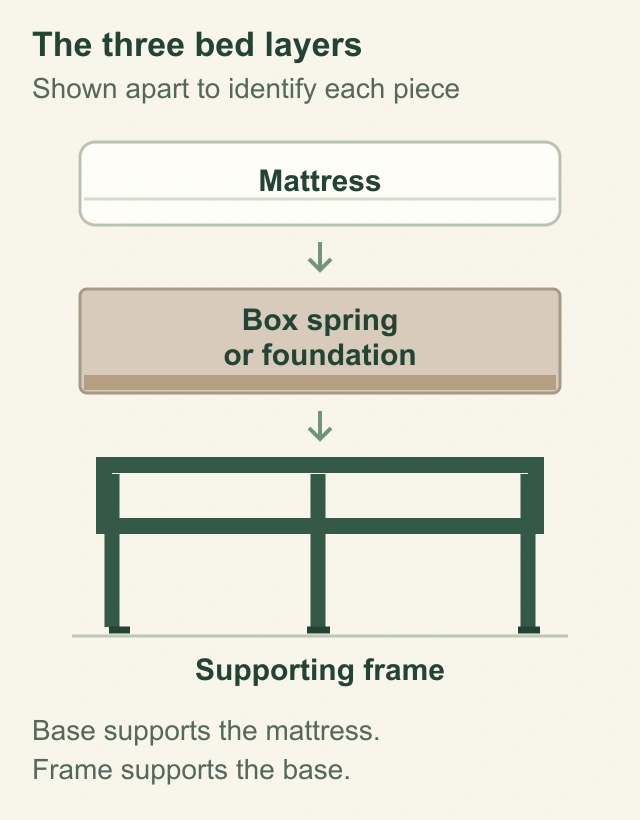
Assemble and check the compatible frame, then lower the box spring or foundation onto its intended supports with the mattress-facing side up. Confirm that the base is seated evenly on the specified rails, crosspieces, or platform. Use any supplied retainers as directed, then add the mattress. The foundation’s instructions determine its orientation and support points.
Before we start: match the frame, foundation, and mattress
First, check what the fabric-covered base actually is. A traditional box spring contains springs; a rigid foundation provides a firmer support surface. Retailers sometimes use “box spring” for both. Tempur-Pedic explains the difference between its solid foundation and a conventional spring unit. Match the base’s construction to the requirements of your mattress.
Next, identify the frame’s job. An open rail frame generally holds a separate foundation. A platform has its own support surface and may already give a compatible mattress everything it needs. We check the frame and mattress instructions together.
| Frame type | What we check | Where the base belongs |
|---|---|---|
| Open metal rail frame | Correct width setting, inward support ledges, and required center support | On the rail ledges and supporting crosspieces specified for the base |
| Wood or upholstered panel bed | Support cleats, crosspieces, center beam, and any height setting | Within the frame on its intended foundation supports |
| Slatted or solid platform | Whether an extra foundation is permitted and useful | On the approved support surface; keep the required structure intact |
| Adjustable power base | Its own mattress-support and movement instructions | A separate rigid box spring does not flex with the moving deck |
Swipe sideways to read the full table.
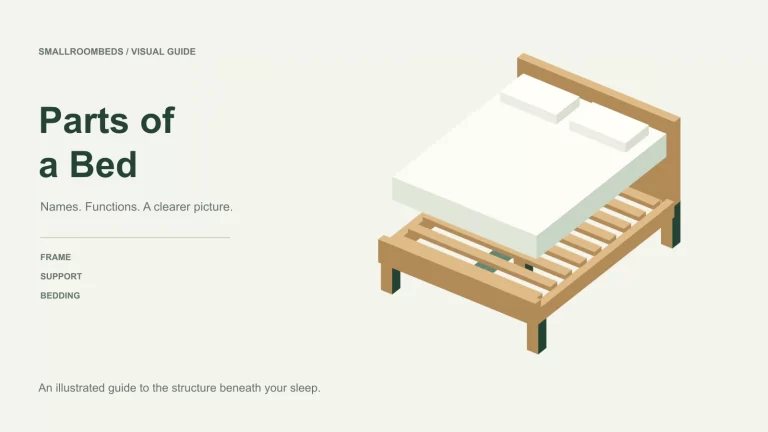
If the frame has only a few crosspieces, do not assume they are intended to support the mattress directly. Our parts of a bed guide helps us distinguish side rails, slats, and a center beam.
What we need for the setup
We keep a tape measure, the frame and foundation instructions, and any tools needed for the frame’s own connections nearby. A flashlight helps us see the contact points underneath. Arrange help to handle a bulky base and clear a place for the mattress. Placing an assembled foundation is different from assembling a flat-packed one: complete that assembly, including its cover, according to its own instructions first.
How to put a box spring on a bed frame in 6 steps
STEP 1
Check the size and actual fit
Match the size names, then measure the base’s outside dimensions and the frame’s usable opening or support width. A Queen label alone does not explain the space between decorative rails or the setting of an adjustable frame. Set a metal frame to the correct width before loading it, following its locking instructions.
For a two-piece foundation, check the dimensions and orientation of both halves. King and California King use different proportions; “split” does not make their pieces interchangeable. Measure the assembled pieces together instead of borrowing a Twin measurement.
STEP 2
Finish and check the frame supports
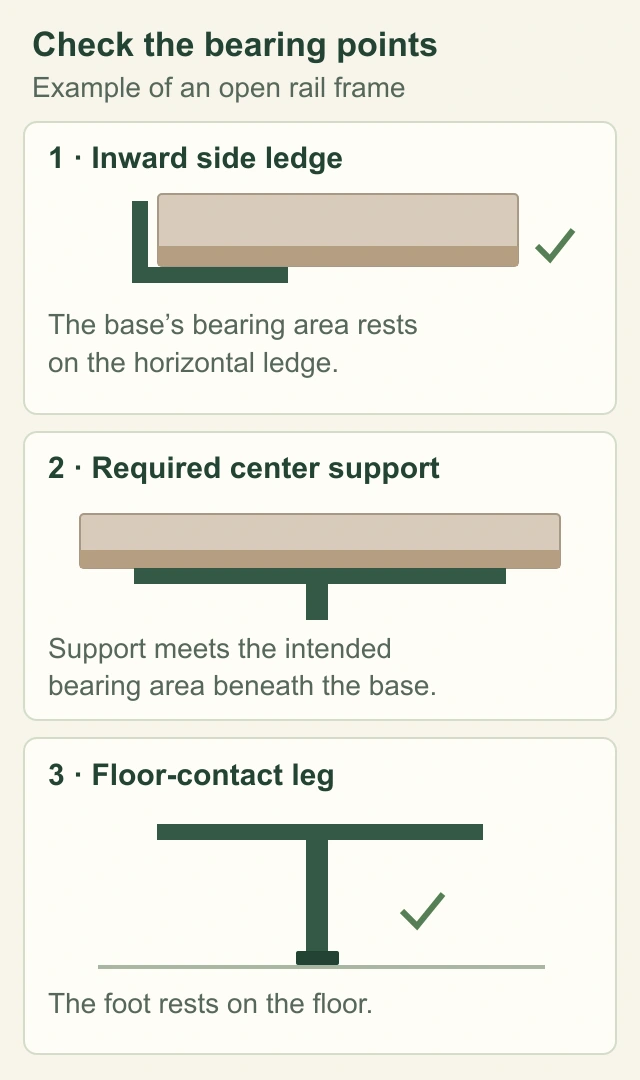
Complete the frame assembly and check its connections. Install every required beam, crosspiece, and support leg. Any floor-contact legs should sit as intended, rather than hanging above the floor or being forced sideways.
Look at the foundation instructions as well: its designated bearing areas need support from the frame. Sealy’s guidance, for example, calls for full foundation support and rigid center support for Queen and King setups. The exact arrangement depends on the system you own.
STEP 3
Clear the route and position the frame
Remove the existing mattress and bedding. Place the frame where the finished bed will sit, then clear the route from the doorway. Check the turn into the room as well as the space beside the bed. It is easier to adjust an empty frame than a fully loaded bed.
In a small room, temporarily moving a chair or bedside table may give us a better approach. Keep the base clear of door handles and sharp furniture edges while carrying it into position.
STEP 4
Identify the top side and lower the base into place
Use the manufacturer’s markings or assembly diagram to identify the mattress-facing surface. A traditional unit often has a more substantial covered top and a thin dust cover underneath, but the fabric pattern alone is not a reliable rule for every foundation.
With help, hold the base level and lower it onto the intended supports. Do not force it between rails that are too close together. For a split foundation, place each section in the specified orientation and make sure both halves receive the required support, including along the central area.
STEP 5
Check the contact points and alignment
Look along the frame and underneath the base. Its intended bottom bearing areas should sit on the supports, with no unexpected rocking or unsupported corner. On a metal rail frame, the inward horizontal ledge carries the base; the vertical rail edge helps locate it. The thin cover fabric is not a substitute for structural contact.
Check that any center support is in the correct position for the foundation. If the frame includes retainers or a specific connection system, use it as directed. We do not add screws through the fabric-covered base as a routine installation step.
STEP 6
Add the mattress and check the finished setup
Place the mattress on the base and align the edges. Check for rocking, shifting, or a connection that needs attention, then sit at the edge to assess the finished height. The frame, foundation, and mattress should work as one supported setup.
Before adding bedding, confirm that the room still works: the door opens, drawers pull out, and we can walk around the exposed frame legs. If the finished bed is too high, measure the layers before deciding which component to change.
Do we keep the slats or remove them?
There is no single rule. Some frames use slats or crosspieces to carry a foundation; others let a compatible base sit on side supports and a required center beam. Removing the wrong piece changes the supporting structure.
For example, IKEA’s US guidance says slats are not necessary with its described box-spring-mattress arrangement. Its Canadian guidance also specifies that a required midbeam stays in place. In a different design, the RH Teen Madero Full instructions tell owners to move the support system to a lower setting when using a box spring. These are model-specific arrangements, not interchangeable directions.
We locate the instructions for the exact bed and follow the illustrated support configuration. A loose board or extra pad does not replace a missing required beam.
Plan the room and the finished bed height
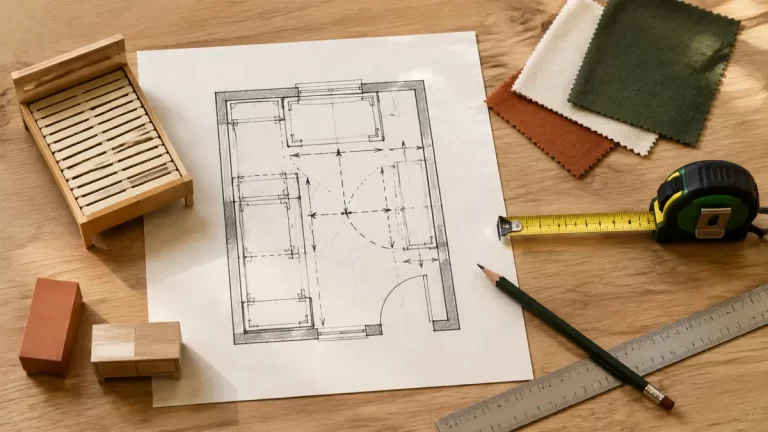
The room needs to accommodate both installation and everyday use. A full-size base may fit the bed but be awkward around a stair landing. A correctly sized split foundation can make the individual pieces easier to maneuver; measure the separate pieces and confirm how the frame supports them.
MEASURE TO THE SUPPORT SURFACE
Frame support height + foundation + mattress + topper
A 7-inch support surface, 5-inch foundation, and 12-inch mattress make an approximately 24-inch bed before a topper. This is a planning example, not a product specification.
Measure from the floor to the surface carrying the foundation—not to the top of a headboard or decorative side rail. If the supports are recessed inside a wood frame, account for that recess. Our bed height calculator handles both arrangements.
A thinner foundation can lower the mattress while leaving the frame in place. It does not create additional underbed clearance: the frame’s lower structure still determines whether a storage bin can slide beneath it.
If the box spring does not fit or sit properly
We start with the fit and support arrangement before adding accessories. This short checklist separates a size problem from a connection or height problem.
| What we notice | Check first | Next step |
|---|---|---|
| Base will not fit between rails | Actual dimensions, correct size, frame width setting | Correct the approved setting or choose the matching base; do not force the fit |
| Base rocks or the middle sits unevenly | Support position, floor contact, damaged parts | Restore the intended support arrangement and resolve damaged components |
| Base slides sideways | Width, seating, and supplied retainers | Correct the fit; use only a suitable manufacturer-approved retention method |
| Finished bed is too tall | Actual support height and each added layer | Compare a compatible lower-profile foundation or permitted lower support setting |
| Setup squeaks | Frame joints, contact surfaces, and the foundation itself | Locate the sound, then address that connection or component |
Swipe sideways to read the full table.
A new frame does not automatically fix noise coming from the foundation. Our no-squeak bed frame guide explains why identifying the source matters.
If we need a different foundation
We choose a replacement to solve the measured problem. For excess height, compare compatible low-profile foundations. For a tight carrying route, compare matching split foundations and their assembled dimensions. In either case, check the mattress-support requirements and how the base sits on the existing frame before ordering.
These links open search results. Select the correct size and construction for your setup.
Box spring setup FAQs
Does a box spring go inside the frame or on top?
It rests on the frame’s intended supports. In a panel bed, that can place it inside the decorative perimeter. On an open rail frame, the base sits on inward ledges and crosspieces. “Inside” describes its position; the supports do the carrying.
Which side of a box spring goes up?
The mattress-facing side goes up. Check the label or assembly diagram, especially on a metal foundation with a removable cover. Do not use the logo, zipper location, or fabric color as a universal orientation rule.
Do we screw the box spring to the bed frame?
Only if the specific system calls for a supplied connection. Many rail-frame setups hold the foundation by their shape and support arrangement. Bolts used to assemble the frame or attach a headboard are a different task.
Can we put a box spring on a platform bed?
Some platforms allow an additional compatible foundation, but it is often unnecessary for support and raises the bed. Check the platform and mattress instructions. Do not remove structural slats simply to lower the stack.
Can a box spring stand without a bed frame?
A legless foundation needs the supporting arrangement specified for it. A foundation designed with its own legs is a different setup. We would not attach generic legs to an ordinary box spring or assume its fabric cover makes it freestanding.
Is a rigid foundation suitable for every mattress?
Suitability depends on the mattress and support system. For instance, Tempur-Pedic specifies a firm, non-spring base rather than a conventional box spring. Other models have their own requirements; check the construction, not only the retail name.
We finish with three checks: the right base, the right bearing points, and a useful finished height. Once those align, the box spring installation becomes a straightforward part of setting up the room.